

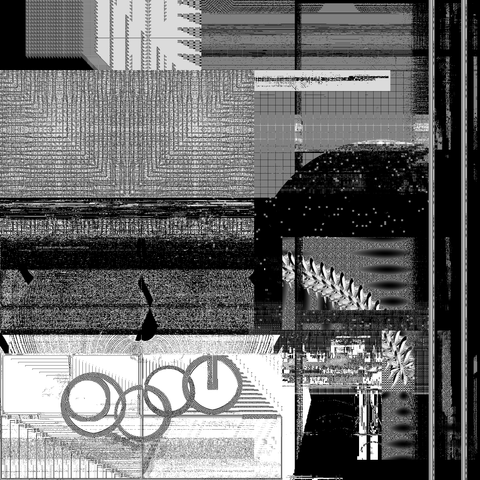
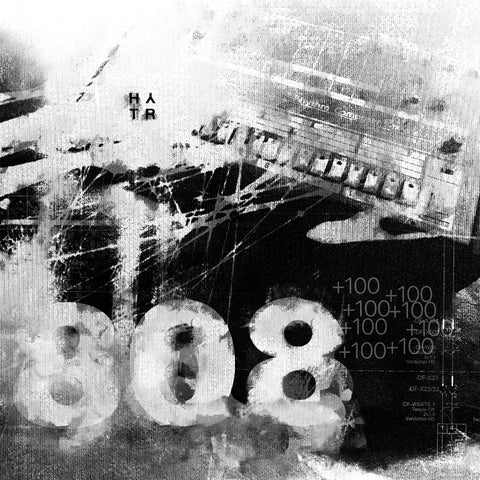

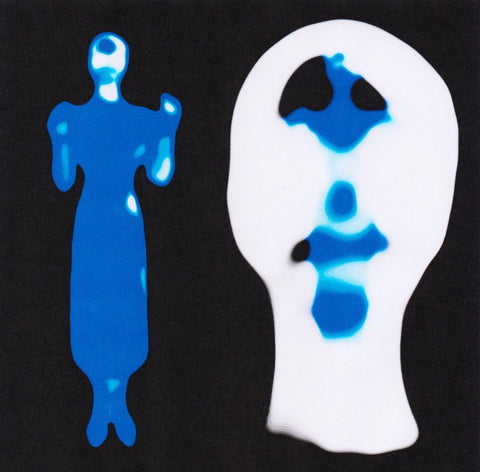

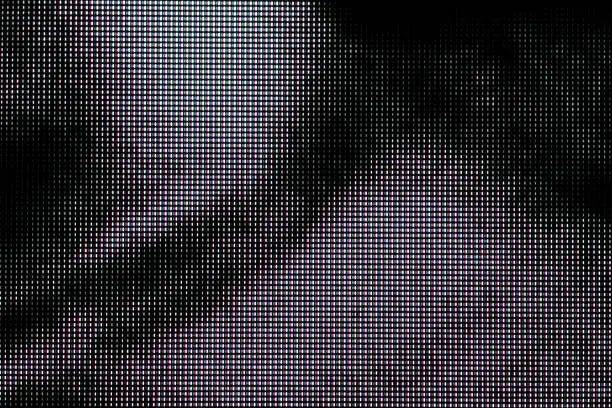
A texture on a photo or a graphic gives it depth right away: paper grain, dust, scratches, concrete, paint. In Photoshop, the method takes a handful of settings. This guide goes through them in order, then explains which blend mode to pick for each kind of texture.
What you need before you start
- A base image: a photo, poster, cover or logo.
- A texture at least as large as the image. A texture that is too small turns blurry when enlarged.
- Photoshop, or any editor with layers and blend modes (Photopea, Affinity Photo, GIMP). The principle is the same.
Add a texture in Photoshop in 7 steps
1. Open the base image
Go to File > Open and select your image.
2. Place the texture
Go to File > Place Embedded and choose the texture file. It arrives as a smart object, so you can resize it without losing quality.
3. Adjust size and position
With Ctrl + T (Cmd + T on Mac), stretch the texture to cover the whole image. In the Layers panel it must sit above the background image. Rotate it by 90° if you reuse the same texture: the pattern repeats less.
4. Change the blend mode
In the Layers panel, switch the mode from Normal to Overlay, then try the other modes (see the next section).
5. Set the opacity
Lower the opacity slider until the effect is visible without overpowering the image. For a grunge texture, 30 to 60% is often enough.
6. Limit the effect with a mask
Add a layer mask and paint in black with a soft brush over the areas to protect: face, text, logo.
7. Save the project
Save as PSD to keep the layers editable, then export as PNG or JPEG to share it.
Which blend mode should you choose?
- Overlay: the most versatile, it boosts contrast. For grunge, concrete, metal.
- Soft Light: the same idea, gentler. For a light texture on a photo.
- Multiply: darkens and brings out the dark areas. For light textures: paper, crumpled cardboard.
- Screen: keeps only the light areas. For dust, scratches or broken glass on a black background.
Mistakes that show
- Texture too strong. Lower the opacity, or switch to Soft Light.
- Stray colors. If the texture tints the image, desaturate it with Image > Adjustments > Desaturate (Shift + Ctrl + U).
- Blurry or pixelated texture. It is smaller than the image. Pick a high-resolution pack, like the 4000 px textures below.
- Visible repeating pattern. Flip or rotate the texture, or use two different ones.
10 free texture packs to practice with
Each pack is a free download on HYTRAPE. Check the license shown on the product page before any commercial use (see also the licenses page).
- Dirty Grunge Texture Pack: 15 PNG textures for a worn, raw look.
- Paper Grunge Textures Pack: 10+ aged paper textures at 4000 x 4000 px.
- Black Torn Paper Textures Free Pack: 30+ black torn paper textures, some with words.
- Grunge Paper Texture (Studio AAA): papers scanned at 1200 dpi.
- Sweety Paint Texture Pack: 38 textures made from paint, rollers and brushes.
- 14+ Paint Abstract Scans: 14 JPG scans of abstract paint.
- Urban Wall Texture Background: 10 urban wall and graffiti textures, as JPG and transparent PNG.
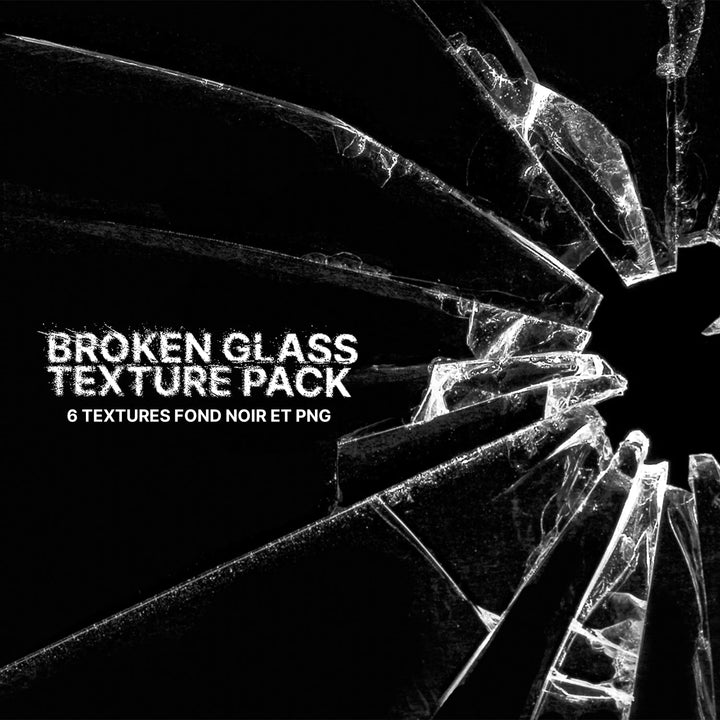
- +10 Broken Glass Texture: 10 broken glass images on a black or transparent background.
- 100 Free Bubble Wrap Textures: 100 bubble wrap textures.
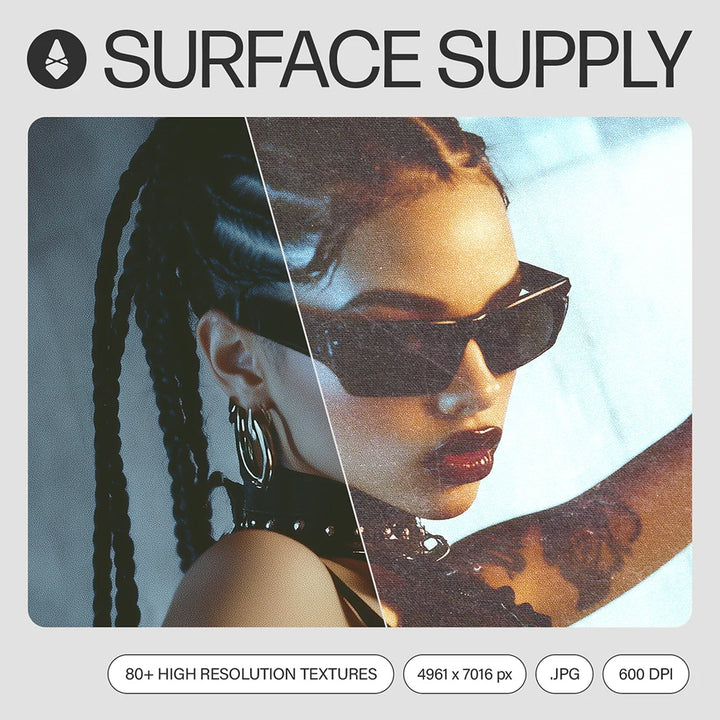
- Surface Supply Texture Pack: scanned paper, fabric and grunge textures by Fox Rockett Studio.
Keep going: the full textures collection, grunge textures, paper textures and free resources.
Frequently asked questions
Which blend mode for a grunge texture?
Start with Overlay or Soft Light. If the texture is light, try Multiply.
Can I use a free texture in a commercial project?
It depends on the pack. The license is stated on each product page.
Do I need Photoshop to add a texture?
No. Any editor with layers and blend modes works, for example Photopea (free, in the browser), Affinity Photo or GIMP.



Share: